Basement leaks are not random. Water follows paths. It flows from high ground to low ground and seeks the easiest way into tiny gaps. If the soil tilts toward your house, water will head straight for the foundation. When that happens, pressure builds against the walls, and moisture slips through cracks or joints. Excavation grading fixes the path water takes on your lot. It reshapes the soil so rain moves away from your home instead of toward it. With the right slope, a firm soil base, and clear routes for runoff, leaks drop fast. This article explains the steps, the tools, and the simple checks you can do to keep your basement dry for good.
How Water Moves Through Soil Toward Foundations
Water moves in two main ways: across the surface and through the soil. On the surface, gravity pulls water downhill. Under the surface, water seeps through pores between soil grains. Sandy soils have big pores and drain fast. Clay soils have tiny pores and hold water longer, which raises “hydrostatic pressure” against the wall. That pressure pushes moisture through weak spots such as form ties, mortar joints, and hairline cracks. Capillary action can also lift water upward through tight soils and concrete, like a straw. When the ground next to a wall sits higher than the yard, water pools there. A few storms later, the wall gets damp. If the water stays trapped, musty smells start, paint peels, and efflorescence (white powder) appears. Good grading lowers that pressure by giving water a quick exit path away from the foundation.
- Surface flow: fast and visible after rain
- Seepage flow: slow, hidden, raises wall pressure
- Clay near walls: holds water, increases leaks
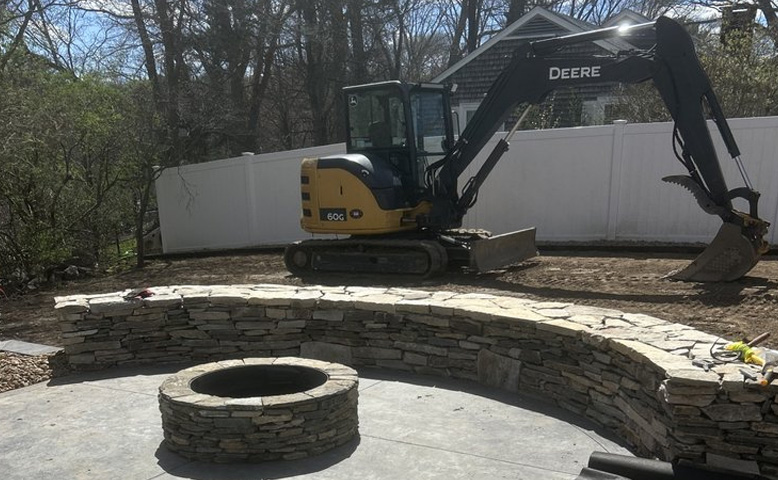
What Excavation Grading Actually Involves Onsite Today
Excavation grading is the process of reshaping and compacting soil to guide water away from your home. A crew begins by marking high and low points with stakes. They use a laser level or builder’s level to measure exact heights. Next, they strip sod, remove soft soil, and cut down high spots. They place soil where low areas need build-up. Around the house, they create a smooth “positive slope” so water cannot linger. They compact in thin layers (called “lifts”) to prevent later settling, which would ruin the slope. Where water gathers, they carve shallow channels called swales and grade a path toward a safe outlet like a ditch, culvert, or storm inlet. Near driveways and walks, they feather the transitions so water does not jump curbs and run back to the house. The last step is to test with a hose and watch the flow path.
- Tools used: mini excavator, skid steer, plate compactor, laser level
- Key actions: cut, fill, shape, compact, test
- Goal: steady flow away from walls and footings
Setting The Correct Slope Around The House
The slope near your foundation is the most important part. For the first 10 feet from the wall, aim for a drop of at least 6 inches. That equals a 5% slope (0.6 inches per foot). More slope is fine if it fits the site, but it must be smooth so water does not pond. Grade should sit a few inches below the top of the foundation or siding to avoid splashback. Window wells need the same care: set their rims above the surrounding grade and fill wells with clean gravel so they drain. Paths and patios should not tilt toward the house. If space is tight, install a trench drain along the edge to catch water and pipe it away. Always check where the water goes next. A good slope that sends water to your neighbor’s basement is not a solution.
- Target near-wall slope: 5% or more over 10 feet
- No low spots: remove dips that hold water
- Check outlets: send flow to legal discharge points
Managing Roof Runoff And Surface Splash Zones
Even perfect grading cannot fight roof runoff if downspouts pour next to the wall. Connect gutters to downspouts that carry water to extensions at least 10 feet away. Where foot traffic or lawn care makes extensions hard, use a buried solid pipe with a pop-up emitter in the yard. At the ground, set a splash block or small apron to break the stream so it does not erode the new slope. Keep gutters clean so they do not overflow at the eaves. On steep roofs, use larger gutters or extra downspouts to handle heavy storms. Check the yard’s “splash zones,” the places where roof valleys dump big flows. Add gravel pads or a trench drain to spread out that energy. Roof water is often the biggest source of basement leaks, and moving it away is one of the cheapest fixes.
- Downspout reach: 10 feet or more from walls
- Keep gutters clear: clean twice a year or after storms
- Protect soil: splash blocks, gravel pads, or trench drains
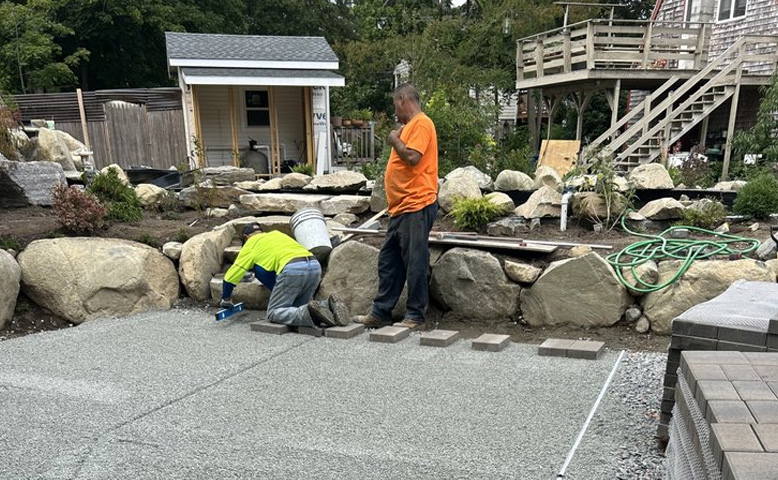
Soil Choices, Compaction, And Drainage Layer Basics
Soil type matters. Near the surface, use a low-permeability cap such as clayey topsoil to slow down infiltration next to the wall. Under that, place a free-draining layer like sand or gravel to carry water away once it gets past the cap. Built-in lifts are about 4–6 inches thick, and each lift is compacted with a plate compactor. Proper compaction hits about 90–95% of standard density (a field rule is “no footprints deeper than a quarter inch”). Where turf is planned, finish with a few inches of topsoil, then seed or sod so roots hold the grade. Avoid backfilling with debris, stumps, or loose fill that will settle. If a sidewalk or driveway borders the wall, seal the joint and keep the slab a little higher than the surrounding soil so water does not funnel below it.
- Cap layer: clayey topsoil, sheds water at the surface
- Drain layer: sand/gravel mix, moves water sideways
- Compaction: thin lifts, firm finish, no soft spots
Perimeter Drains, Sumps, And Backup Measures Explained
Sometimes grading alone is not enough, especially on tight lots or hillsides. Then a perimeter drain (often called a French drain) helps. This is a trench with a perforated pipe laid at the low side of the house. The pipe sits on clean gravel, is wrapped in filter fabric to block silt, and slopes about 1% to a discharge point. Where gravity discharge is not possible, the pipe feeds a sump basin with a sump pump that lifts water to daylight or a storm line. Add a check valve and a high-water alarm. A battery or water-driven backup pump keeps things working during outages. Do not allow drains onto sidewalks or into sanitary sewers. In very wet yards, add interceptor swales upslope to cut off hillside water before it reaches the house. These backups reduce pressure on the wall and keep the new grade performing.
- Pipe slope: 1% minimum toward outlet
- Filter fabric: prevents clogging by fine soils
- Sump system: pump, check valve, and backup power
Simple Inspection Steps To Spot Grading Problems
You can spot many grading issues with a short walk after a rain. Look for standing water within 10 feet of the foundation. Trace where roof valleys send flow—follow the water marks. Check downspout ends: if they stop near the wall, extend them. Push a screwdriver into the soil near the house; if it sinks easily and stays muddy a day after rain, the soil may be too loose or low. Walk the lawn and note any dips; mark them with flags for fill. Inside the basement, search for white powder on walls, peeling paint, or damp corners—these are signs of outside water pressure. Take phone photos from the same spots during two or three storms. The picture record makes changes easy to see and helps a contractor set grades, place swales, and size drains.
- After-rain check: ponding, splash marks, soft soils
- Basement signs: white powder, damp base, peeling paint
- Fix list: extend spouts, fill dips, re-compact edges
A Dry Basement Starts With Smart Site Grading
Good excavation grading solves the path water takes. By setting a steady slope away from the house, moving roof water far from walls, compacting soils in layers, and adding drains where needed, leaks often stop without wall coatings or costly interior work. If your yard holds water near the foundation, call a team that handles earthwork and residential grading. Perry Heavy Equipment Services LLC offers excavation services and can shape the site, set swales, and direct runoff to safe outlets. With the grade corrected and the water led away, your basement can stay dry through the next storm and the many storms after that.